 马上加入
马上加入 Step-by-Step Guide: How to Transfer Crypto from TP Wallet to Binance Exchange
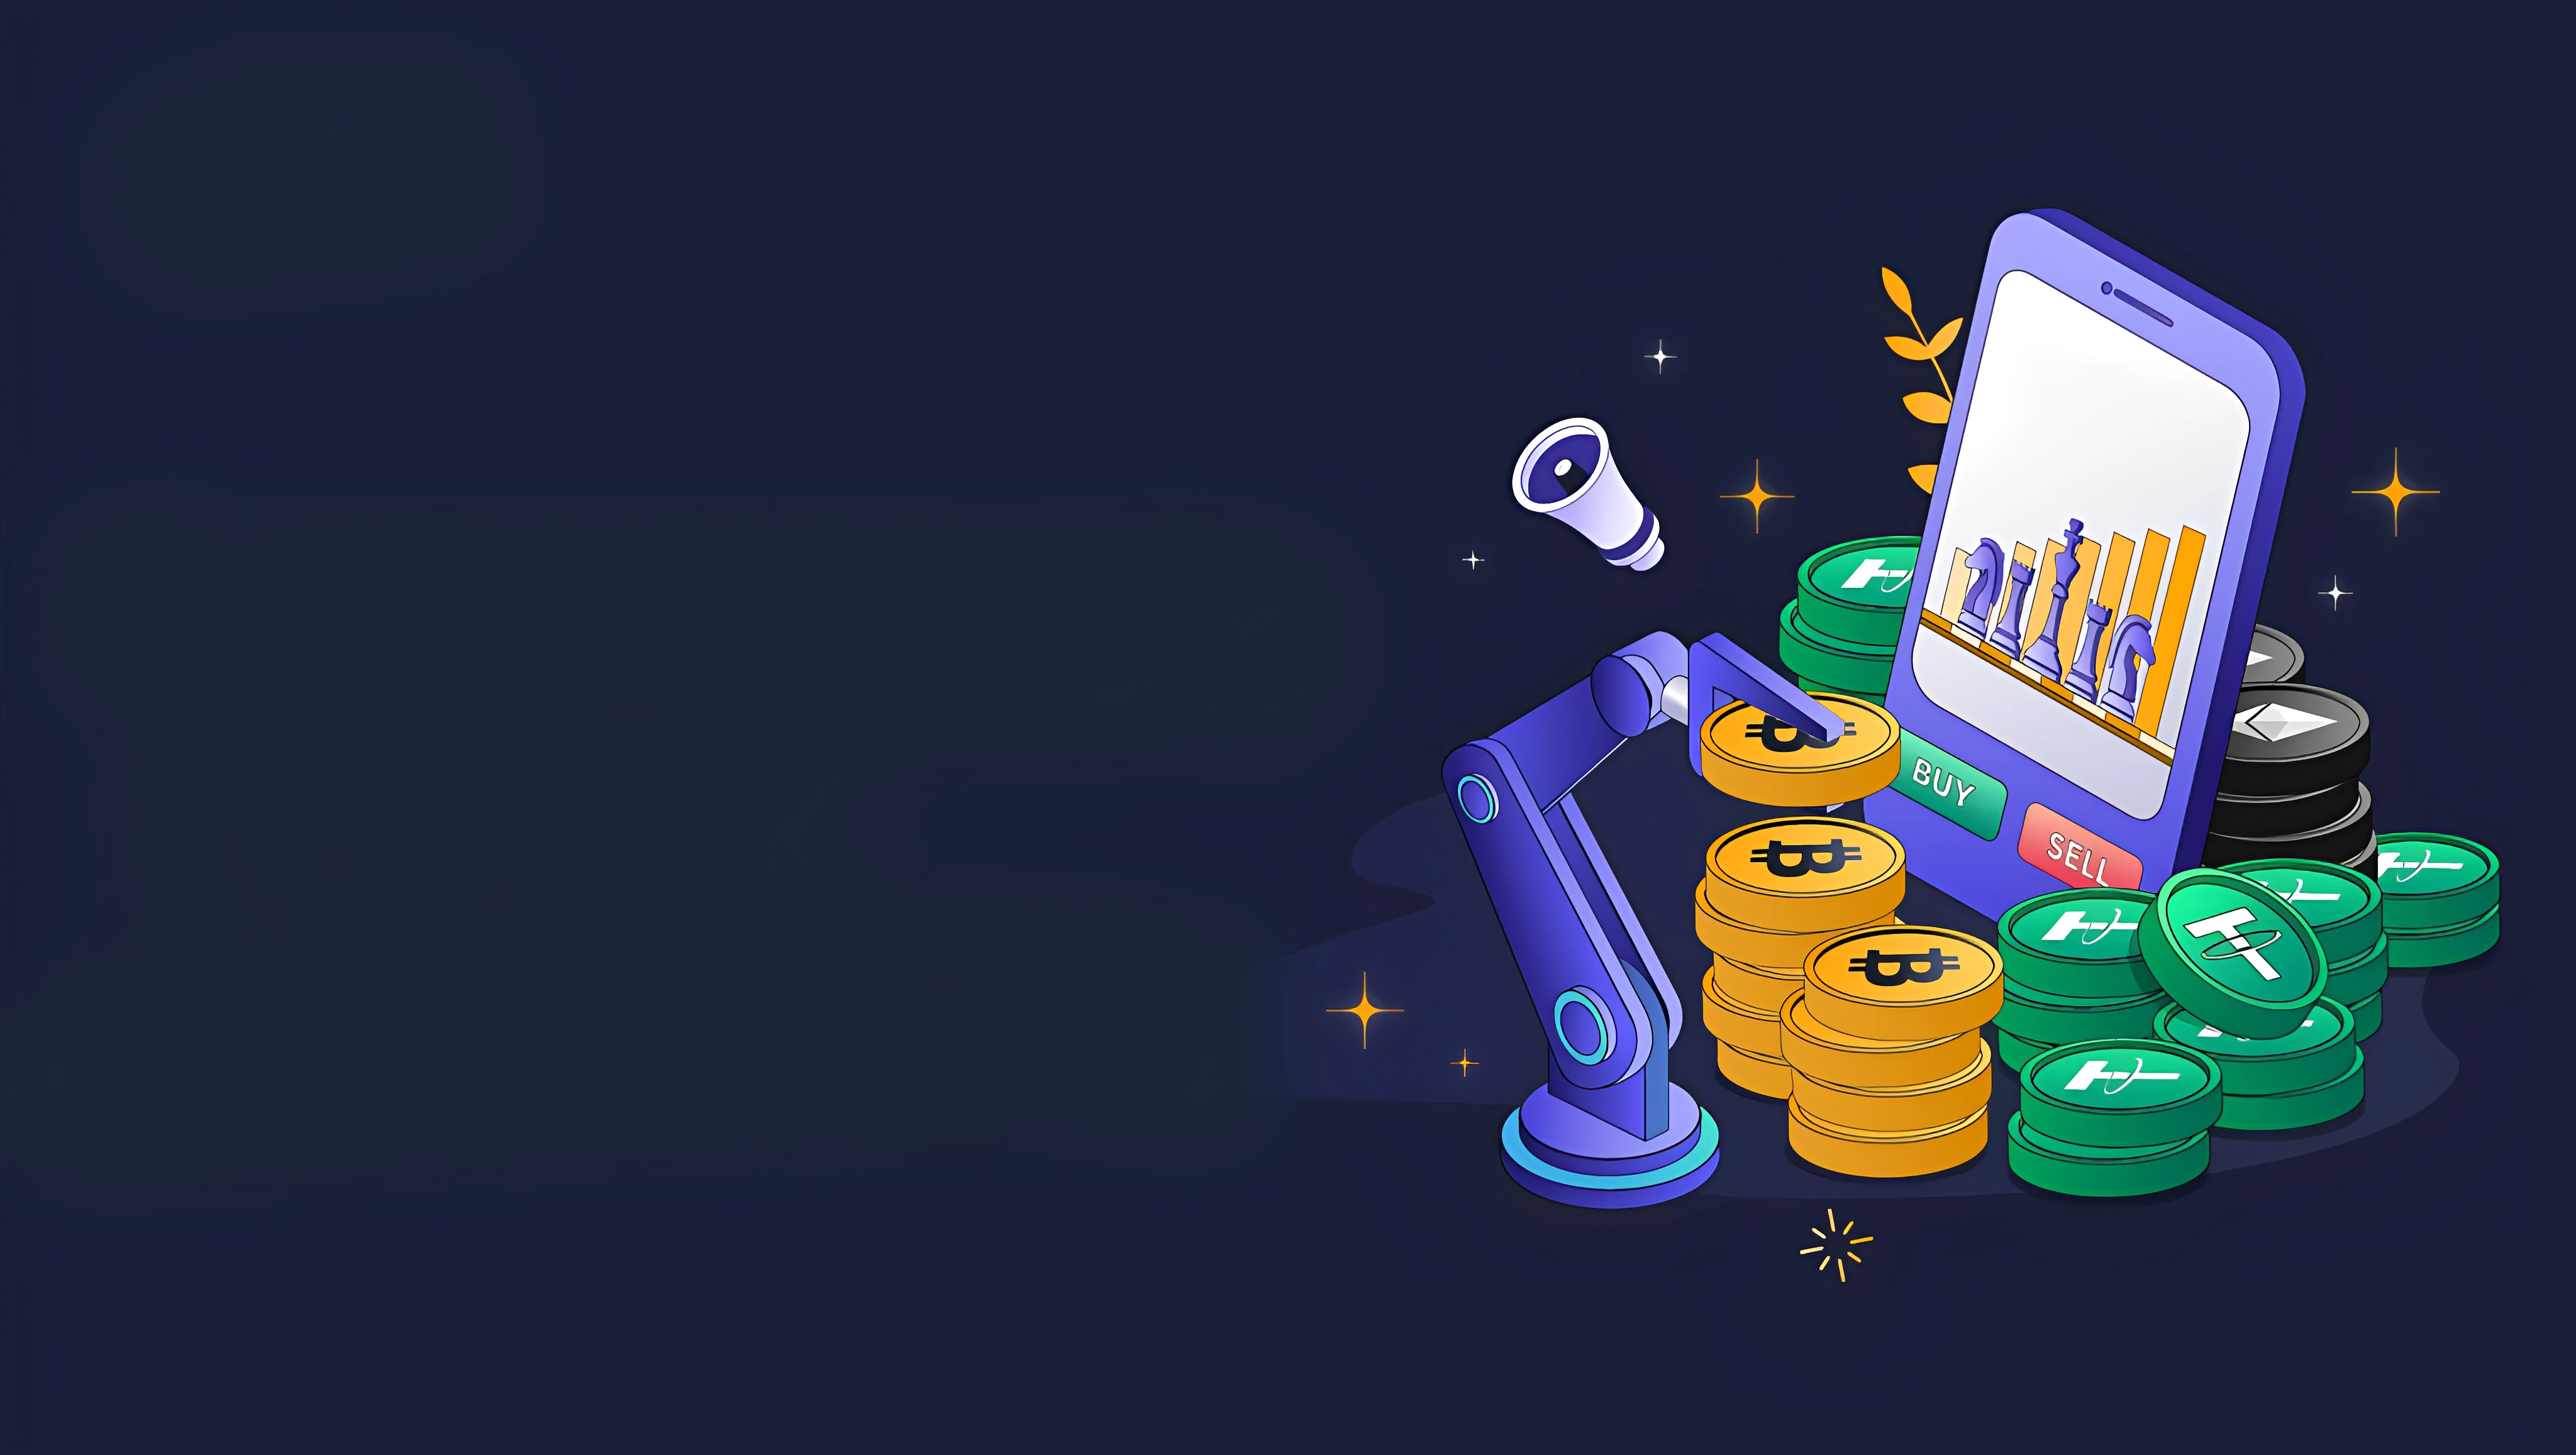
If you are holding cryptocurrencies in your TP Wallet and want to move them to Binance for trading or selling, you are in the right place. This guide explains the entire process clearly, covering everything from finding your Binance deposit address to confirming the transfer on the blockchain. Whether you are a beginner or just need a refresher, following these structured steps will help you avoid common mistakes like sending tokens to the wrong network.
What is TP Wallet?
TP Wallet (TokenPocket) is a popular multi-chain wallet that supports assets across networks such as BNB Smart Chain, Ethereum, TRON, Polygon, and many others. Binance is one of the largest cryptocurrency exchanges in the world. Transferring between the two requires careful attention to network compatibility and accurate address entry.
Step 1: Prepare Your Binance Deposit Address
First, log into your Binance account. On the top menu, click "Wallet" and then "Deposit." Search for the cryptocurrency you want to transfer (for example, USDT, BNB, or ETH). Binance will show you a list of supported networks. This is a critical point: you must select the correct network that matches the network you are using in TP Wallet. If you choose the wrong network, your tokens may be lost permanently.
For example, if you are sending USDT from TP Wallet on the BNB Smart Chain (BEP-20), you must select "BEP-20" on Binance. Copy the deposit address provided. Double-check the address and the network label before proceeding.
Step 2: Open TP Wallet and Start the Transfer
Open your TP Wallet app. Locate the token you want to send. Tap on it, and then tap the "Send" button. A field will appear asking for the recipient address. Paste the Binance deposit address you copied earlier. Next, you need to select the network. Again, ensure the network matches what you chose on Binance. For example, if you selected BEP-20 on Binance, choose "BSC" or "BEP-20" in TP Wallet.
Step 3: Enter the Amount and Review Fees
Enter the amount you wish to transfer. Note that you must keep a small amount of the native coin of that network in your TP Wallet to cover gas fees. For BSC, you need BNB; for Ethereum, you need ETH; for TRON, you need TRX. The app will calculate the network fee automatically. Review the total amount including fees. Confirm the details: address, amount, and network.
Step 4: Confirm the Transaction
After reviewing, confirm the transaction. You may be asked to enter your wallet password or biometric authentication. Once confirmed, TP Wallet will process the transfer. A transaction hash (TXID) will be generated. You can use this hash to track the status on a blockchain explorer.
Step 5: Wait for Confirmation on Binance
The blockchain network will need time to confirm the transaction. Depending on network congestion, this can take from a few seconds to several minutes. On Binance, go to "Wallet" > "Transaction History" or check the deposit page. Once the network reaches the required number of confirmations, the tokens will appear in your Binance wallet. You will then be able to trade, stake, or withdraw them as needed.
Common Mistakes to Avoid
1. Network mismatch: This is the most common error. Sending a token from TP Wallet to Binance on a different network (e.g., sending BEP-20 tokens to a Binance ERC-20 address) can cause irreversible loss.
2. Insufficient gas fees: Always ensure you have enough native token for network fees before initiating the transfer.
3. Wrong address: Even a single character error can result in lost funds. Always copy the address directly instead of typing it.
4. Sending to a contract address: Only send tokens to a personal wallet address or exchange deposit address, not a smart contract address.
Conclusion
Transferring crypto from TP Wallet to Binance is a straightforward process if you pay close attention to network selection and address accuracy. Always test with a small amount first if you are unsure. After the successful transfer, you can enjoy the full suite of trading features on Binance. Keep your wallet private keys safe and never share them with anyone. If you follow the steps in this guide carefully, your assets will arrive safely and quickly.

发表评论